

Introduction
Want to make your embroidery designs pop with a bold, raised look? When you digitize 3D puff for embroidery, you’re adding foam under stitches to create a stunning three-dimensional effect, perfect for logos, text, or graphics on hats, jackets, or bags. But digitizing for 3D puff isn’t as simple as flat embroidery—it comes with unique challenges that can trip up even experienced embroiderers. Mistakes like torn foam or puckered fabric can ruin your project. In this casual, SEO-friendly guide, we’ll highlight the most common 3D puff digitizing mistakes and share pro tips to avoid them, ensuring your designs look flawless every time. Let’s dive in and keep your embroidery on point!
Understanding 3D Puff Embroidery
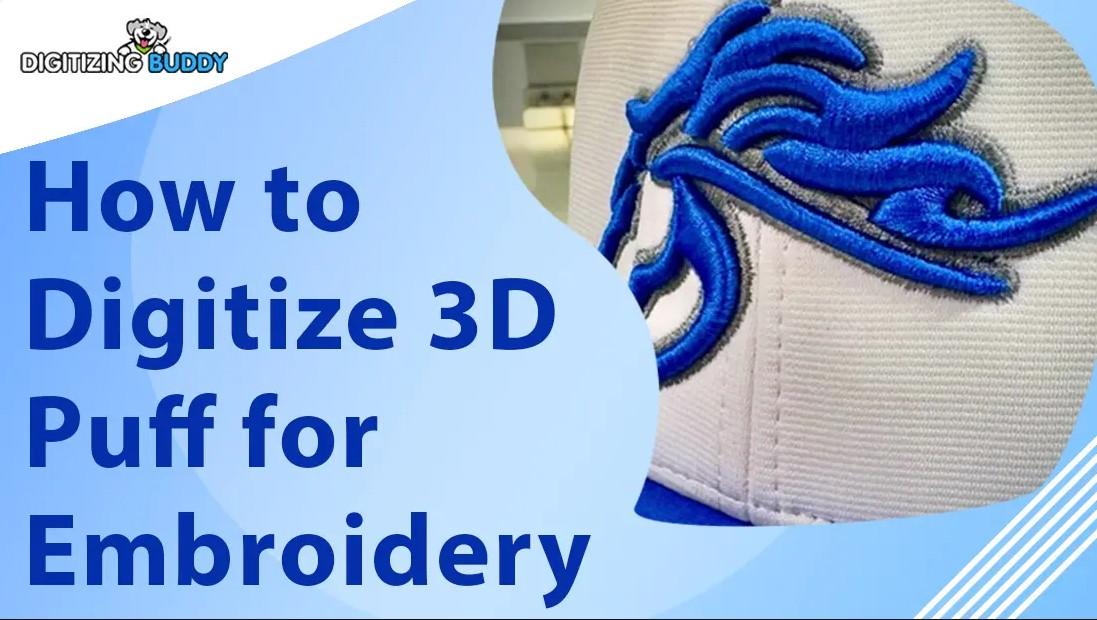
3D puff embroidery uses foam—typically 2mm or 3mm thick—to lift satin stitches, creating a raised, textured effect. It’s a favorite for bold branding, like logos on baseball caps, because it adds depth and a premium feel. Digitizing for 3D puff requires special attention to stitch types, foam placement, and fabric settings, as the foam’s thickness adds variables that standard embroidery doesn’t face. Avoiding mistakes in the digitizing process is key to achieving a clean, professional finish that makes your designs stand out.
Mistake 1: Choosing the Wrong Design
One of the biggest mistakes beginners make is picking a design that’s too complex for 3D puff. Intricate artwork with tiny details, thin lines, or too many colors doesn’t work well with foam. The raised effect needs space to shine, so small elements can look cluttered or fail to puff properly. To avoid this, choose bold, simple designs with large shapes—think block letters, logos, or graphics like stars or circles. Aim for elements at least 0.5 inches wide and tall, with text no smaller than 0.25 inches. Keep colors to 3-5 shades to simplify stitching. If your design is too detailed, simplify it using graphic software like Inkscape or Adobe Illustrator before digitizing. Starting with the right design sets the stage for a clean, professional puff effect.
Mistake 2: Skipping or Misusing Underlay Stitches
Underlay stitches are the foundation of 3D puff embroidery, stabilizing the foam and fabric before the top stitches go down. Skipping underlay or using the wrong type can lead to shifting foam, uneven stitches, or puckering. To avoid this, always include underlay stitches in your digitizing software. Use a dense zigzag underlay (1-2mm) to anchor the foam, followed by an edge-walk underlay to outline the design. For stretchy fabrics like knits, add extra underlay for stability. Adjust settings to match your fabric—thicker materials like denim need less dense underlay, while stretchy ones need more. Proper underlay ensures the foam stays in place and your satin stitches cover it smoothly, giving your design a polished look.
Mistake 3: Using Incorrect Stitch Settings
Getting stitch settings wrong is a common pitfall that can ruin your 3D puff design. Satin stitches are the go-to for puff embroidery, as they cover the foam smoothly, but setting them too dense or too narrow can cause problems. Dense stitches—closer than 0.4mm—can tear the foam or pucker the fabric, while stitches narrower than 4mm may not cover the foam fully, leaving gaps. To avoid this, set satin stitch width to 4-6mm and density to 0.4-0.5mm spacing. Extend stitches 1mm beyond the foam’s edges for full coverage. Avoid overusing fill or running stitches, as they don’t work well with foam. Check your software’s stitch simulator to preview the design and tweak settings if needed. Proper stitch settings keep your design clean and prevent foam-related disasters.
Mistake 4: Ignoring Fabric and Foam Compatibility
Not adjusting for your fabric or foam type is another mistake that can derail your 3D puff project. Different fabrics—stretchy knits, thick denim, or structured hats—require specific settings to handle the foam’s thickness. Using the wrong foam or mismatched settings can lead to puckering, torn foam, or uneven designs. To avoid this, match your foam (2mm or 3mm) to your thread color to hide gaps. For stretchy fabrics, increase pull compensation by 0.2-0.3mm to account for stretch. For thicker fabrics, lower stitch density to avoid distortion. On hats, center the design to dodge seams. Test your settings on scrap fabric similar to your project to ensure compatibility. Adjusting for fabric and foam ensures your design stitches smoothly and looks professional.
Mistake 5: Skipping the Test Stitch-Out
Never skip the test stitch-out—it’s your safety net for catching issues before ruining your final fabric. Without testing, you might end up with torn foam, puckered fabric, or misaligned stitches. To avoid this, save your digitized file (in formats like PES or DST, depending on your machine) and stitch it on scrap material with the same foam and stabilizer as your project. Check for gaps, puckering, or foam tears. If something’s off, tweak stitch density, underlay, or pull compensation in your software and test again. Testing saves time, materials, and frustration, ensuring your 3D puff design looks flawless when stitched on the final piece.
Mistake 6: Poor Foam Placement and Machine Setup
Incorrect foam placement or machine setup can sabotage your 3D puff embroidery. If the foam shifts or isn’t trimmed properly, stitches won’t cover it, leaving gaps or uneven edges. Running your machine too fast can also tear the foam. To avoid this, stitch a placement stitch first to mark where the foam goes, then lay the foam over the area, trimming it slightly larger than the design. Use a cut-away stabilizer for sturdy fabrics or a cap-specific stabilizer for hats to keep everything secure. Set your machine to a slower speed—around 600-800 SPM—to prevent foam tears. After stitching, gently tear away excess foam with tweezers for a clean finish. Proper setup ensures your design pops without hiccups.
Additional Tips for Success
Choose quality foam and polyester threads for durability and vibrancy. Match foam and thread colors to hide any gaps. Use digitizing software like Hatch Embroidery or Wilcom EmbroideryStudio for precise control, and check if your machine supports 3D puff. Always hoop your fabric tightly with a stabilizer to prevent shifting. Experiment with combining 3D puff and flat stitches for dynamic designs, but test thoroughly to ensure balance.
Conclusion
Digitizing 3D puff for embroidery can transform your designs into bold, professional masterpieces, but avoiding common mistakes is crucial. Choose simple designs, use proper underlay and stitch settings, adjust for fabric and foam, and never skip testing. With these tips, you’ll dodge pitfalls and create flawless 3D puff embroidery that stands out. Grab your software, foam, and machine, and start digitizing designs that make a lasting impression today!